How I Built This Blog: Astro, Docker Images, Caddy and Zero-Touch CI/CD
The complete story of building my personal blog with Astro's versatility, Caddy instead of Nginx, Docker containerization, and GitHub Actions for automated deployments.
How I Built This Blog: Astro, Docker Images, Caddy and Zero-Touch CI/CD
I have to confess something: before building this blog, I had tried to start others. Three times. And I abandoned them all before publishing even the first article.
WordPress, Jekyll, Hugo… I tried them all. Each time I’d set everything up, write a draft, then realize: “This is too complicated. I’ll never maintain it.”
The problem wasn’t the content. It was the complexity.
Then I discovered Astro, and everything changed. Its simplicity fascinated me. Finally, a framework that just makes sense.
🎯 The Goal (And Why I Kept Abandoning)
I wanted a place to share technical experiences, projects, thoughts on software development.
But every time I tried to start, I hit the same wall: complexity.
My Journey Through Failed Attempts
First attempt: WordPress
I thought: “Everyone uses it, must be easy.”
Wrong.
The interface was clunky. Editing code snippets was a nightmare. The page took 3 seconds to load. I wrote one draft and gave up.
Second attempt: Jekyll
I thought: “Static site, simple, perfect.”
I spent two days fighting with Ruby gems, bundle install errors, and incompatible dependencies. Never published anything.
Third attempt: Hugo
I thought: “This is fast, I’ll finally do it.”
The templating language confused me. Every time I wanted to change something small, I had to dive into documentation. Abandoned after setup.
What I Learned
I needed something that:
- Just works: No fighting with dependencies or complex setups
- Fast by default: No 3-second load times
- Easy writing: Pure Markdown, no WYSIWYG editors that break formatting
- Simple deployment: Push code, site updates. That’s it.
- Actually maintainable: I want to write content, not fix build issues
The realization: Complexity kills blogs. If the framework fights you, you’ll never write.
🚀 Why Astro? The Framework That Convinced Me
After evaluating several options (Next.js, Hugo, Gatsby, Jekyll), I chose Astro.
And I have to say: it was the right decision.
The Story of My Choice
Initially I was convinced to use Next.js. Also if i don’t know it very well, it’s powerful, it has a huge community.
But then I did a test: I created a simple blog page with Next.js.
Resulting JavaScript bundle? 85KB.
For a static page with some text. Eighty-five kilobytes of JavaScript.
I did the same test with Astro: 0KB of JavaScript.
Zero.
The page was pure HTML and CSS. And it loaded instantly.
Maybe i did something wrong with pure Next.JS, but considering i had less experience with Astro than with Next, the result was amazing
Astro’s Incredible Versatility
What makes Astro special is its “bring your own framework” philosophy combined with zero JavaScript by default:
// Astro's philosophy: Zero JavaScript by default
// The result? Ultra-fast static HTML pages

export default defineConfig({
  site: 'https://cristiancaiazzo.com',
  integrations: [mdx(), sitemap(), tailwind()],
});
What Makes Astro Truly Special (For Me)
| Feature | Benefit |
|---|---|
| Islands Architecture | Interactive components only where needed |
| Framework Agnostic | Use React, Vue, Svelte, or plain HTML |
| Zero JS Runtime | Pure static pages, no framework in the browser |
| Content Collections | Type-safe content management with Zod |
| Built-in Optimizations | Automatic image optimization, prefetching |
| MDX Support | Markdown with components inline |
| Vite-powered | Lightning-fast builds and HMR |
Content Collections: Type-Safe Blogging
One of Astro’s most powerful features is its typed content management:
// src/content/config.ts
import { defineCollection, z } from 'astro:content';

const blog = defineCollection({
  type: 'content',
  schema: z.object({
    title: z.string(),
    description: z.string().optional(),
    excerpt: z.string().optional(),
    date: z.coerce.date(),
    author: z.string().optional(),
    tags: z.array(z.string()).optional(),
    image: z.string().optional(),
  }),
});

export const collections = { blog };
This schema ensures every article has the correct fields and types, catching errors at build time — not in production!
Why Astro Over Alternatives?
| Framework | Pros | Why I Chose Astro Instead |
|---|---|---|
| Next.js | Full-stack, great DX | Overkill for a static blog, ships too much JS |
| Gatsby | Rich plugin ecosystem | Complex configuration, slow builds |
| Hugo | Blazing fast | Go templating is not as flexible |
| Jekyll | Simple, proven | Ruby dependency, limited modern features |
| Astro | ✅ Best of all worlds | Zero JS, fast builds, MDX, type-safe |
🌐 Caddy vs Nginx: Why I Chose Simplicity
For this project, I chose Caddy over Nginx.
Not because Nginx is bad—it’s excellent. But for this specific use case, Caddy’s simplicity won.
The Caddy Advantage: It Just Works
This is my complete Caddy configuration:
{
    email contact@cristiancaiazzo.com
    admin off
}

# Redirect www to non-www
www.cristiancaiazzo.com {
    redir https://cristiancaiazzo.com{uri} permanent
}

# Main site configuration
cristiancaiazzo.com {
    reverse_proxy web:80
    encode gzip

    header {
        Strict-Transport-Security "max-age=31536000; includeSubDomains"
        X-Frame-Options "SAMEORIGIN"
        X-Content-Type-Options "nosniff"
    }
}
That’s it. SSL certificates? Automatic. Renewals? Automatic. HTTP/3? Enabled by default.
What Nginx Would Require
With Nginx, I’d need to:
- Write the nginx.conf file
- Set up Certbot
- Create a cron job for certificate renewal
- Handle the chicken-and-egg problem: container must be up before requesting certificates
- Configure certificate paths correctly
- Set up renewal hooks to reload Nginx
It’s not that Nginx needs “100+ lines”—it doesn’t. But it needs:
- Initial config file
- Certbot setup and management
- Orchestrating container startup order
- Manual intervention for renewals
With Caddy? None of that. Just start the container.
Caddy vs Nginx: Honest Comparison
| Aspect | Caddy | Nginx |
|---|---|---|
| SSL Setup | Automatic (Let’s Encrypt) | Manual with Certbot + cron |
| Configuration | Single file, simple | Config + Certbot management |
| Container Orchestration | Just works | Need to handle cert request timing |
| HTTP/3 | Built-in | Requires compilation |
| Performance | Great for most cases | Highly optimized, battle-tested |
| Enterprise Features | Limited | Extensive (load balancing, caching) |
| Community/Docs | Growing | Massive, mature |
When to Use Caddy ✅
Caddy is perfect when:
- Personal projects: You want to focus on content, not server config
- Simple setup: One config file, automatic SSL, done
- Docker environments: No certificate orchestration headaches
- Quick deployments: From zero to HTTPS in minutes
When Nginx Might Be Better ⚠️
Consider Nginx for:
- Enterprise environments: More control, proven at massive scale
- Complex load balancing: Advanced upstream configurations
- High-traffic sites: Fine-tuned performance optimizations
- Existing infrastructure: Already have Nginx expertise and tooling
My take: For this blog, Caddy’s simplicity won. I wanted to write content, not manage certificates. But for complex production systems, Nginx’s maturity and flexibility are hard to beat.
🐳 Everything as Docker Images: The Container-First Approach
One of my core principles was: everything must run as Docker images. This approach has transformed how I deploy and maintain the blog.
Why Container Everything?
# The dream: Deploy anywhere with one command
docker-compose up -d

# That's it. Works on any server with Docker.
Multi-Stage Build: Optimized Images
I use a multi-stage Dockerfile to create minimal, secure images:
# Stage 1: Build the Astro site
FROM node:20-alpine AS builder

WORKDIR /app

# Install dependencies (cached layer)
COPY astro-site/package*.json ./
RUN npm install

# Build the static site
COPY astro-site/ ./
RUN npm run build

# Stage 2: Serve with Caddy (tiny final image!)
FROM caddy:2-alpine

WORKDIR /srv

# Copy ONLY the built static files
COPY --from=builder /app/dist /srv

EXPOSE 80

CMD ["caddy", "run", "--config", "/etc/caddy/Caddyfile"]
Benefits of the Container-First Approach
| Benefit | Description |
|---|---|
| Reproducibility | Same image runs identically everywhere |
| Isolation | No “works on my machine” problems |
| Security | Minimal attack surface in production |
| Rollback | Just pull the previous image tag |
| Scaling | Easy horizontal scaling if needed |
| CI/CD Integration | Images are the deployment artifact |
Image Size Optimization
Thanks to multi-stage builds:
Node.js builder stage: ~1.2GB (discarded)
Final Caddy image: ~50MB (shipped)
The production image contains:
- ✅ Caddy binary (~40MB)
- ✅ Static HTML/CSS/JS files (~10MB)
- ❌ No Node.js
- ❌ No npm
- ❌ No build tools
- ❌ No source code
Docker Compose Orchestration
services:
  web:
    image: ghcr.io/your-username/your-blog:latest
    expose:
      - "80"
    restart: unless-stopped
    networks:
      - app-network

  caddy:
    image: ghcr.io/your-username/your-blog-caddy:latest
    ports:
      - "80:80"
      - "443:443"
      - "443:443/udp"  # HTTP/3 support
    volumes:
      - caddy_data:/data
      - caddy_config:/config
    depends_on:
      - web
    restart: unless-stopped
    networks:
      - app-network

networks:
  app-network:
    driver: bridge

volumes:
  caddy_data:
  caddy_config:
🔄 CI/CD: The Zero-Touch Deployment Pipeline
The heart of automation is the CI/CD pipeline I built with GitHub Actions. The goal: push to main, site updates automatically.
The Complete Pipeline Architecture
┌─────────────┐     ┌──────────────┐     ┌─────────────┐     ┌───────────┐
│  Git Push   │────▶│ Build Image  │────▶│  Push GHCR  │────▶│  Deploy   │
│  to main    │     │  (Astro+Caddy)│    │  (Registry) │     │  to VPS   │
└─────────────┘     └──────────────┘     └─────────────┘     └───────────┘
                           │                    │                   │
                           ▼                    ▼                   ▼
                    Multi-stage build    GitHub Container    SSH + docker-compose
                    Node.js → Caddy         Registry              pull & up
Pipeline 1: Build and Push Docker Images
name: Build and Push Docker Image to GHCR

on:
  push:
    branches:
      - main
  workflow_dispatch:  # Manual trigger option

env:
  REGISTRY: ghcr.io
  IMAGE_NAME: ${{ github.repository }}

jobs:
  build-and-push:
    runs-on: ubuntu-latest
    permissions:
      contents: read
      packages: write

    steps:
      - name: Checkout repository
        uses: actions/checkout@v4

      - name: Log in to GitHub Container Registry
        uses: docker/login-action@v3
        with:
          registry: ${{ env.REGISTRY }}
          username: ${{ github.actor }}
          password: ${{ secrets.GITHUB_TOKEN }}

      - name: Extract metadata for web image
        id: meta-web
        uses: docker/metadata-action@v5
        with:
          images: ${{ env.REGISTRY }}/${{ env.IMAGE_NAME }}
          tags: |
            type=ref,event=branch
            type=sha,prefix={{branch}}-
            type=raw,value=latest,enable={{is_default_branch}}

      - name: Build and push web Docker image
        uses: docker/build-push-action@v5
        with:
          context: .
          file: ./Dockerfile
          push: true
          tags: ${{ steps.meta-web.outputs.tags }}
          labels: ${{ steps.meta-web.outputs.labels }}

      - name: Build and push Caddy Docker image
        uses: docker/build-push-action@v5
        with:
          context: .
          file: ./Dockerfile.caddy
          push: true
          tags: ghcr.io/${{ env.IMAGE_NAME }}-caddy:latest
Pipeline 2: Deploy to VPS
name: Deploy to VPS

on:
  workflow_run:
    workflows: ["Build and Push Docker Image to GHCR"]
    types:
      - completed
    branches:
      - main

jobs:
  deploy:
    runs-on: ubuntu-latest
    if: ${{ github.event.workflow_run.conclusion == 'success' }}

    steps:
      - name: Deploy to VPS
        uses: appleboy/ssh-action@v1.0.0
        with:
          host: ${{ secrets.VPS_HOST }}
          username: ${{ secrets.VPS_USERNAME }}
          key: ${{ secrets.VPS_SSH_KEY }}
          port: 2222
          script: |
            cd ~/your-blog
            git pull origin main
            docker-compose pull
            docker-compose down
            docker-compose up -d
            docker system prune -f
The Zero-Touch Flow
- I write an article in MDX format
- Git push to main triggers the pipeline
- GitHub Actions builds the Docker images
- Images are pushed to GitHub Container Registry
- Deploy workflow SSHs into VPS
- docker-compose pull gets the new images
- Site is live with zero manual intervention
Total time from push to live: ~2 minutes
Why This CI/CD Setup is Powerful
| Feature | Benefit |
|---|---|
| Workflow Chaining | Deploy only runs after successful build |
| Image Tagging | SHA-based tags for traceability |
| Automatic Cleanup | docker system prune keeps VPS clean |
| Rollback Ready | Previous images always available |
| Manual Trigger | workflow_dispatch for emergency deploys |
📁 Project Architecture
The architecture is designed to be simple yet scalable.
Directory Structure
your-blog/
├── astro-site/           # Astro application
│   ├── src/
│   │   ├── pages/        # Site pages
│   │   ├── layouts/      # Reusable layouts
│   │   ├── components/   # UI components
│   │   ├── content/      # Blog articles (MDX)
│   │   └── styles/       # Global styles
│   └── public/           # Static assets
├── .github/
│   └── workflows/        # GitHub Actions pipelines
├── Dockerfile            # Multi-stage build
├── Dockerfile.caddy      # Caddy reverse proxy
├── docker-compose.yml    # Container orchestration
├── Caddyfile            # Caddy configuration
└── astro-dev.sh         # Development helper script
📝 Writing Articles with MDX
One of the most satisfying parts is how simple it is to write new articles.
Article Structure
Each article starts with a YAML frontmatter block containing metadata:
---
title: "Article Title"
date: "2024-11-24"
excerpt: "Brief description for preview"
author: "Your Name"
tags: ["Tag1", "Tag2", "Tag3"]
---
Then you write your content using standard Markdown syntax with support for:
- Headers: Use
#,##,###for different heading levels - Emphasis: Use
**bold**and*italic*formatting - Code: Use backticks for
inline codeor triple backticks for code blocks - Quotes: Use
>for blockquotes - Lists: Use
-or1.for bullet or numbered lists
The MDX format combines the simplicity of Markdown with the power of components!
💡 Lessons Learned
This project taught me a lot. Here are the most important lessons:
1. Choose the Right Tool for the Job
Caddy is excellent for homelabs, personal projects, and showcase sites where simplicity matters. For enterprise scenarios with complex requirements, Nginx’s maturity and extensive features might be the better choice. Always evaluate your specific needs.
2. Docker Images = Portability
By containerizing everything, I achieved true “build once, run anywhere”:
# Deploy to any server:
docker-compose up -d

# Done. Works everywhere.
3. CI/CD Pays Off Immediately
The time invested in setting up the pipeline pays off with every single deployment:
- No manual errors
- Deploy anytime with confidence
- Simple rollback (just deploy previous image)
4. Astro’s Versatility is Unmatched
Astro lets me:
- Write in Markdown/MDX
- Add interactivity only where needed
- Ship zero JavaScript by default
- Use any UI framework if I want
🎬 Conclusion
Building this blog has been an incredibly rewarding experience. I combined technologies that complement each other well — Astro for its versatility, Caddy for simplified web serving (ideal for this use case), Docker for containerization, and GitHub Actions for zero-touch CI/CD — into a system that works smoothly and automatically.
Key Takeaways
- Astro is perfect for blogs and content-driven sites — versatile, fast, and developer-friendly
- Choose wisely between Caddy and Nginx based on your specific needs — simplicity vs. enterprise features
- Docker images for everything ensures consistent deployments anywhere
- CI/CD automation makes deployment a non-event — push and forget
If you’re thinking about creating your own technical blog, I hope this article gave you some useful insights!
📚 Resources
- Astro Documentation
- Caddy Server — The HTTP/2 web server with automatic HTTPS
- Nginx Documentation — For enterprise and complex configurations
- Docker Documentation
- GitHub Actions
- Tailwind CSS
Thanks for reading! If you have questions or want to share your experience building blogs, feel free to reach out.
Related Articles

Self-Hosted GitHub Actions Runners: When Free Minutes Run Out
December 1, 2025
Running out of free GitHub Actions minutes? Here's how to set up your own self-hosted runner for unlimited CI/CD workflows.
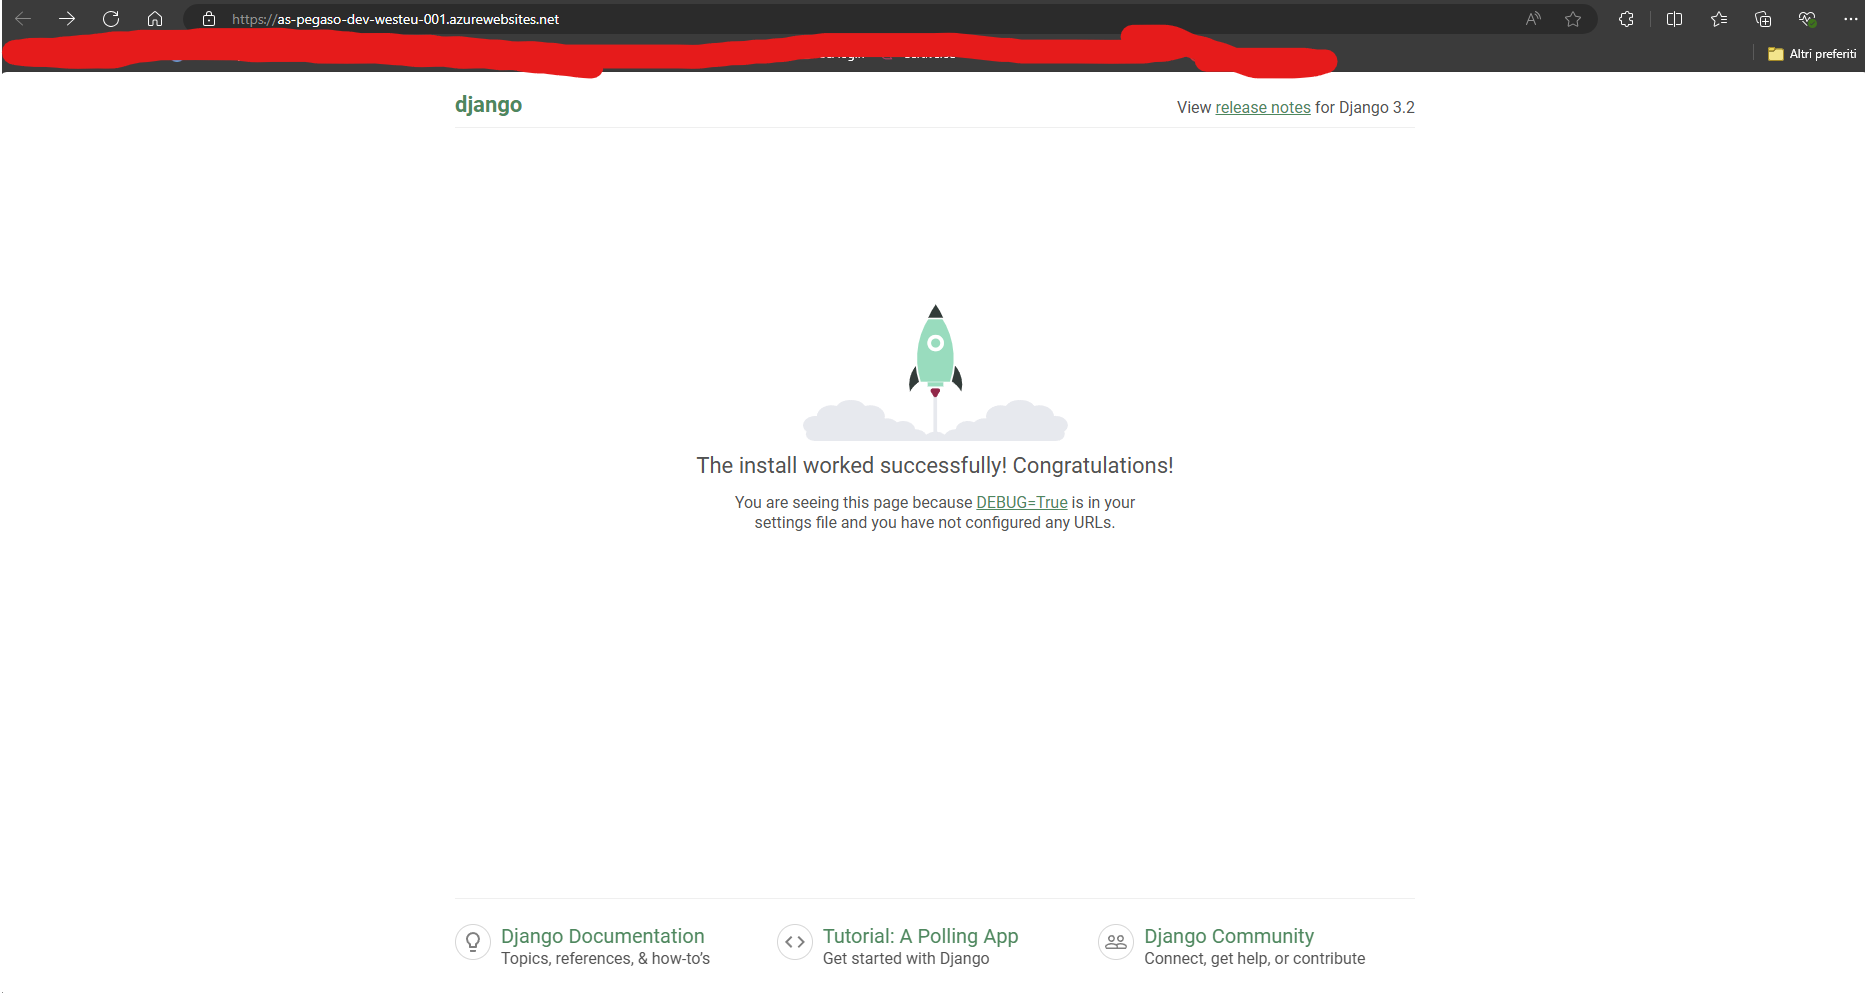
Building a Django Hotel Booking System - Part 2: Cloud Deployment on Azure
November 22, 2024
Deploy a Django application to Azure using Infrastructure as Code with Terraform, CI/CD pipelines with GitHub Actions, and modern DevOps practices for zero-touch deployment.
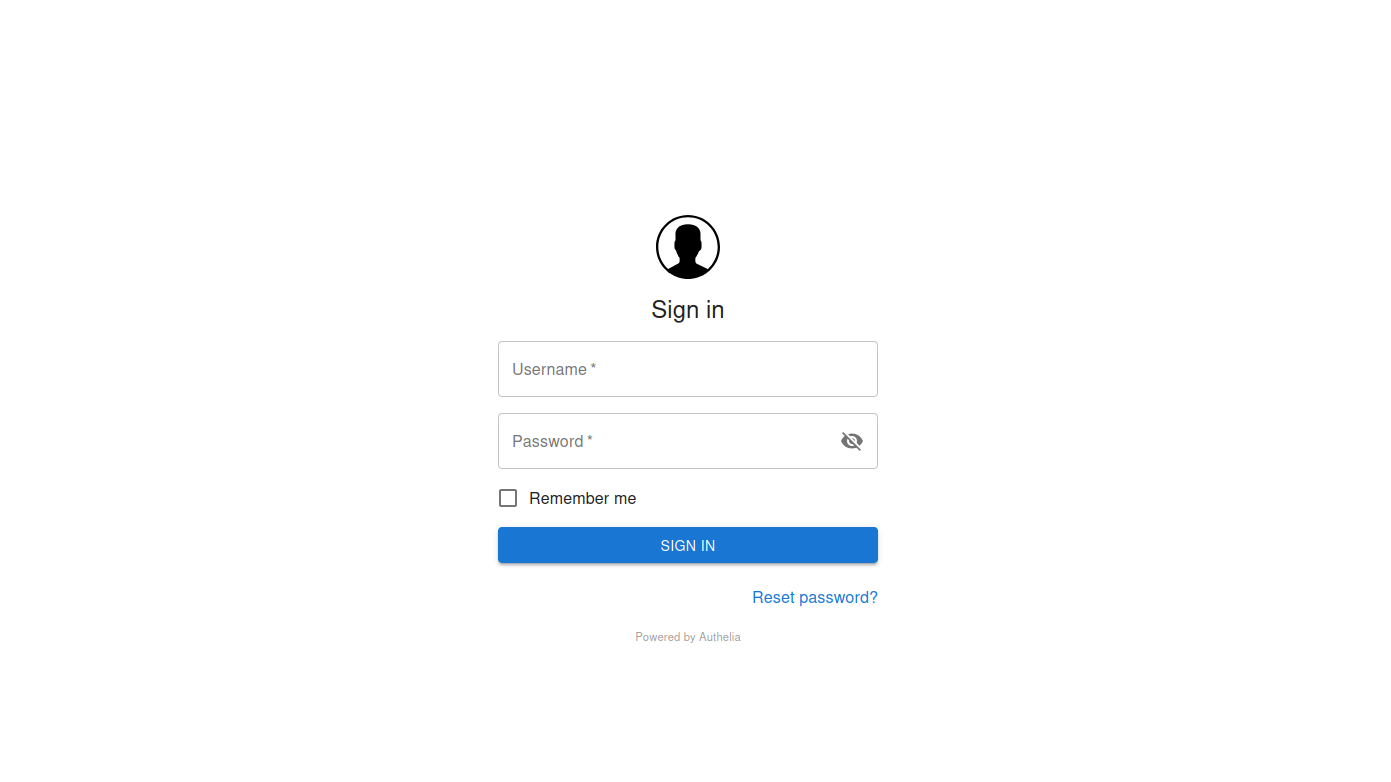
Protecting Development Showcases with Authelia and Caddy
March 4, 2026
How I used Authelia and Caddy to protect client development showcases from accidental indexing and unauthorized access — after learning the hard way.
Contact Me
Have questions or want to collaborate? Send me a message!